About Me

My photo
I am a young mom with 2 children named Gabriel and Grace. I am just moving into a new home and am learning that happiness can be found when and where you least expect it.

Friday, May 28, 2010

Phone Art

I was linking up to a party a couple of weeks ago and found a blog that I have to apologize for not remembering. I should have saved it but I did not. She had made this cool phone art project that she saw on pottery barns website for like $1500 dollars. She had a great tutorial and I wish I could say the same for mine. Either way if you know who she is then let me know. I would love to give her credit for coping her wonderful idea.


These are the matte pictures that I bought from the dollar tree. I bought 12 of them so that I could make the phone pad. They are more of a plastic material than a regular matte art piece.


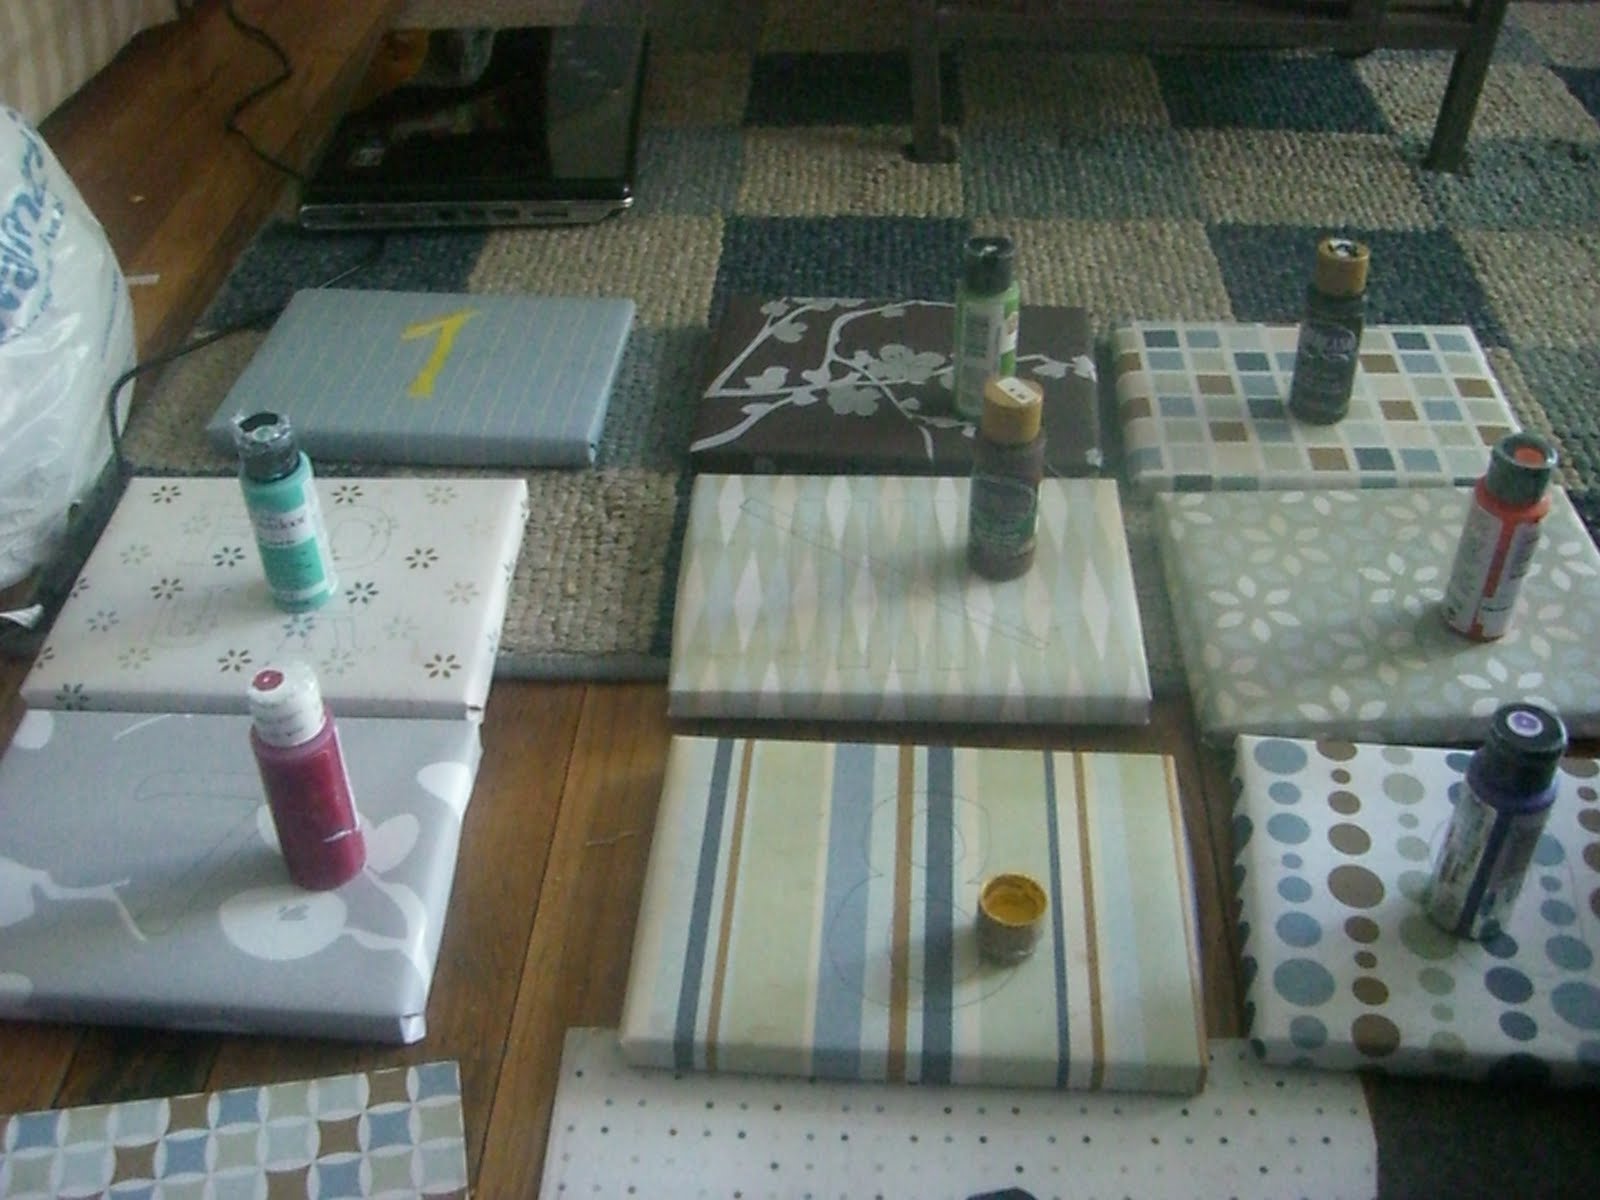
Sorry that i do not have a picture of all of my steps. I then covered each of them with scrap paper that I bought at Walmart. I bought a book of scrap book paper. I think it had like 50 different sheets for $5. I purchased the one that had mostly blues and browns since that is the colors in my living room.

I then painted each number on with craft paint. I picked a different color for each of them. I just hand painted them instead of printing off numbers or using stencils.


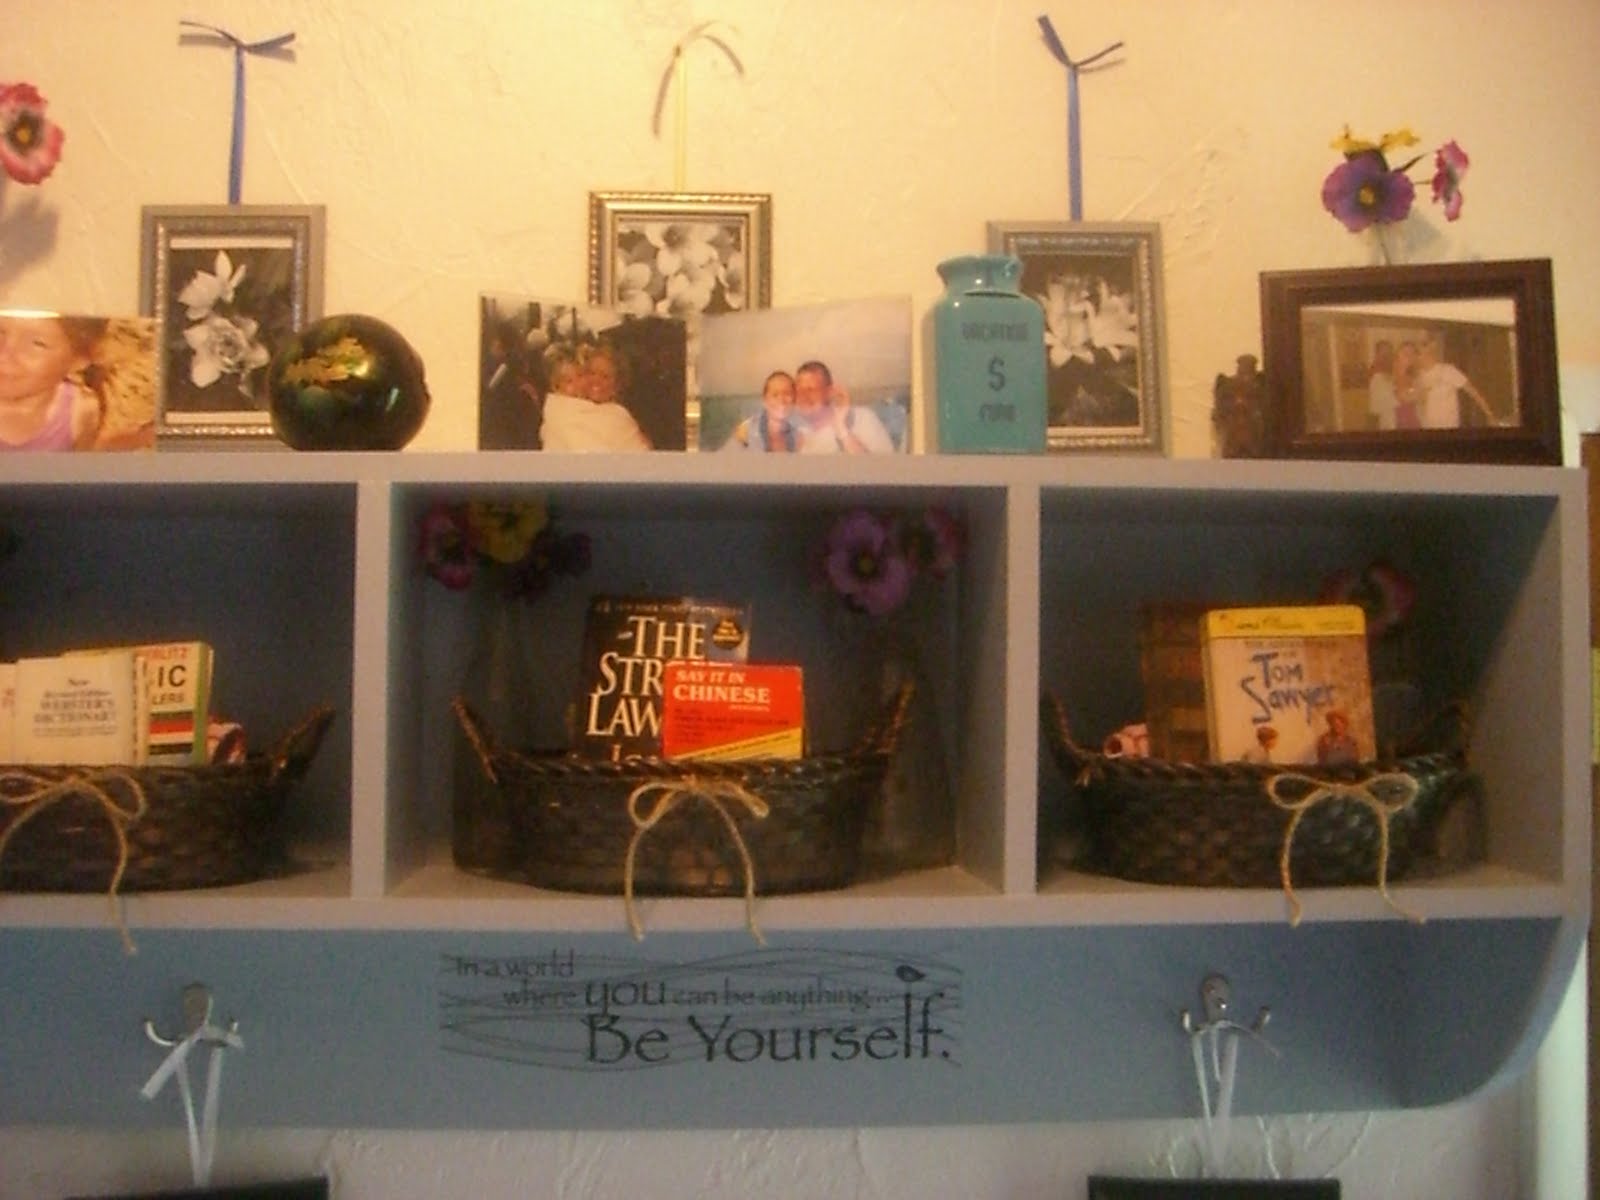
This is the final project. I love the way that it looks. I hung it near my new entry way system. I think that it really adds something to my art wall. This wall is huge and tall. It is the only cathedral ceilings that we have. I eventually want it to be covered with different art pieces and so far it is coming along well.


Wednesday, May 26, 2010

Entry Way Update


Let's just be honest with each other and let it all hang out there. I LOVE Ana over at Knock-Off-Wood. I love every plan that she publishes. Everyday when Adam gets home from work I have all of my notes on what we need to start next. This is the 2nd completed item that we have built. You can see my Farm House Kitchen Table at an older post but today I am going to show you my new entry way system. I love it and am so excited to be sharing it with you.

First, lets flash back to the before

Don't get me wrong, I did this not to long ago but when I saw the plans for the entry system over at Ana's blog I had to have it.

I am so excited to have this. I  think I finally found a way to make my house feel welcoming when you walk inside.


I decided to paint it blue. It is the same color blue as the walls in my living room. 

All of the pictures and books were items that I had around the house. The baskets came from  the dollar tree.


I was originally going to hang three hooks on the lower section of the shelf but I found this saying also at the dollar tree and decided that it was the perfect touch for in between the other two hooks.


Once again, I am so happy to share this with you. It was love at first sight.

Tuesday, May 25, 2010

I Saw The Sign...


I have fallen in love with everything funny, cute and creative to put around my house. I think that if you can just add a little bit of character to each room than it just makes everyone more happy. I have a 1/2 bath in my downstairs and when we moved in we decided to knock out a wall and move the laundry room in with the bath. It is a small space so I do not have a lot of room to decorate. I am working with what I have and I am really happy with what it looks like. I know that it is not anything fantastic, but it is me and that keeps me smiling!


This is where the "laundry room" was located when we moved in. I knew right away that it was going to have to move. What a waste of space!

This is the 1/2 bath that is located right behind where the washer was sitting in the previous picture. That giant hole in the wall across from the toilet is the wall that we ripped down and moved the laundry room to. Sorry I do not have any demo pics. It was a "dark" time for me ;)

So on to better times. This was a lot of work because all of the electrical and plumbing had to be reran. We bought everything brand new for this room. Toilet, sink, drywall, doors and flooring. You can find the pics of my bath here http://budgetsonadime.blogspot.com/2010/05/couch-makeover.html from an earlier post.

Now onto the drum roll...

I cut a couple of pieces of scrapbook paper and glued them onto a piece of construction paper. Then I just painted the saying, added a piece of ribbon and voile.


I added the curtains to brighten the space and to try and divide the rooms a little. I originally wanted to put bi fold doors but I think it would make the space look smaller.

This was just an old Pickle Jar that I had kept for God knows what reason, but it came in handy. I store my laundry detergent in it (obviously).

This is another sign that I hung with some wire. I just poked it through the back of the sign and then twirled it at the ends. It suits me and my families sense of humor.

These are two baskets that I bought from the dollar tree and added some green ribbon to. They are holding my laundry supplies.

This is me making the most of my space. Since this is where the laundry room is going to be for the next I don't know, 400 years. I figured that I might as well make as much of the space as I can. Like I said, I am very happy with the outcome and am only on the lookout for a retractable wire/cord that I can hang my delicate laundry on.

Monday, May 24, 2010

Couch Makeover

So, we have had this couch for awhile. Adam had the couch when I moved in with him. I did not mind it so much then but then I was just sick of it. I had to figure out something but I knew that a new couch was not in the budget. We switched couches out for a while and took a couch from Adams dad that he was getting rid of. The couch was  white stripped and looked nice but it was little and very uncomfortable. Adam and I enjoy snuggling on the couch and watching TV at night and that couch was just not working. Needless to say, I had to have my old couch back. We switched back and guess what. Comfortable but still ugly.

Here is a before picture of our couch.


This is what the couch looks like with the pillows facing forward. Horrible, right?


And this is a pic. of the couch with the pillows reversed and some decorative pillows that I made. From this picture the couch does not look that bad. Trust me when I say it is not that pretty.

So on with my inspiration for my "new" couch. I found this picture on Pottery Barns website.

I just love the clean and crispness of the couch. It is so pretty and inviting. It is a drop cloth slip cover and so easy to remove and be able to wash. Still more than I wanted to pay though. For our size couch it was right around $200. Still more than I was willing to fork out for a slipcover.

Now, onto the big reveal.

This is an ampersand pillow that I made. I just used some left over fabric and painted the symbol onto the pillow. When the paint had dried I outlined it with blue yarn.

I covered two of the original pillows with some more extra fabric that I had from my kitchen table runners. I love the way my pillows turned out.


This is the couch in all of its glory. I went to Menard's and bought a huge drop cloth from the paint department. I do not remember the exact dimensions but I think they were close to 9' by 12'. When I got it home it was not big enough to hang all the way to the floor on both sides. I sent Adam back and had him pick me up a second one. I just tucked in the middle seem and it fit perfect. I am sooooo happy with the way that it looks. And the best part was that the drop cloths were on sale for $12 each. Not to shabby for a $24 dollar couch makeover:)


Tuesday, May 11, 2010

My Angels

Today, I am not going to post a new idea or decoration that I have done at my house. Today, I am going to show you why I breath, smile and am the proudest momma in the world.

This is Gabriel and Grace. They are the most beautiful babies in the world. This is what my life is like everyday. Heaven is what I would call it.

Gabriel loves him some Mac 'N' Cheese (N Cheese as he would say). He likes to wear hats, and he had to have a bib because "baby" had one.
How can you not fall in love with this face. I can not believe that she will be 1 year old in 3 days.

I love my life. Everything about it. I am so glad that I have been given this opportunity to stay home and be with my kids everyday of their incredible lives.

Saturday, May 8, 2010

Dining Room Reveal

Even though my dining room is not completely done it is almost there. I have been working really hard on it and it still needs some work but I am finally in a good place with it. I am ready to reveal it in all of its beauty and I hope that you are all as happy with it as i am.

We had a giant hole in the ceiling when we moved in from god knows what and this was the easiest and cheapest way that we found to fix it. It still needs a touch up but I just painted a 2X4 with black spray paint to match the pot rack and had Adam hang it. I hung the pot rack all by myself though :)


This cabinet is a wine rack on one side and then had shelving on the other. I removed the shelves and hid our trash can. I love that you can not see our trash can anymore.


This little bistro set I received from my mom last year. It was outside by our pool but I decided to move it into our dining room this year.

This is the buffet that we added. We NEEDED more space so we had to build something. With 6 people the normal cabinets was just not enough. I LOVE this so much.


Since we did not have an extra room for our office Adam decided to add extra counter space to make a small office for our computer and all of our bills and stuff. Now that Adam has his own office building it is nice for the kids to do their school work and stuff.


This is the table that was in my entry way. I have wanted an island but we do not have the space so i decided to try this out. I think that it looks so cute and it will be nice to have a little more prep. room.


Like I said, we still have some work to do. Painting is a few spaces. Trim work and a couple of other finishing touches. Other than that, I am so happy with where we are headed.

Friday, May 7, 2010

Plate Makeover

So, my plates that I just painted got a bit of a makeover. I loved them before and now I love them even more. I bought the stickers from the dollar store and think they look perfect.


--

Wednesday, May 5, 2010

First Time Painter

I found this cool website called Wall Written. They have all of these cool vinyl sayings that you can customize for your house. I would love to buy all of them but can not afford to. Their prices and not bad, I just do not have that kind of money. Anyways, I thought that I would try to paint them myself. I am not good at drawing, painting or really anything that takes artistic abilities. I opened Word on my computer and found the exact font that i wanted. I typed out my saying of choice so that I could look at the computer and write it as close as I could. I got my pencil out and started to write on the wall. I was a little nervous but that is why I did it in pencil. This one was a little hard because it was fancy writing which i do not have. I chose the saying "P.S. I love you." I wanted it to be above my fiances night stand next to our bed. I am so happy with the way that it turned out. I know that it is not perfect and I am ok with that. I am just glad that I took a chance and am so excited to paint some more.